This past weekend, aside from a 6 hour round-trip to Windsor to run a 5k, in a Santa suit, with my aunt, I pretty much retreated into my loom room (can I call it a weaving studio? Spare bedroom?) to weave. Since I didn’t bake at all this weekend (aside from a regular batch of bread) I thought it would be a good time to write up a post with a bit of a description of the process that goes into preparing the warp, threading it onto the loom, and getting the weaving started.
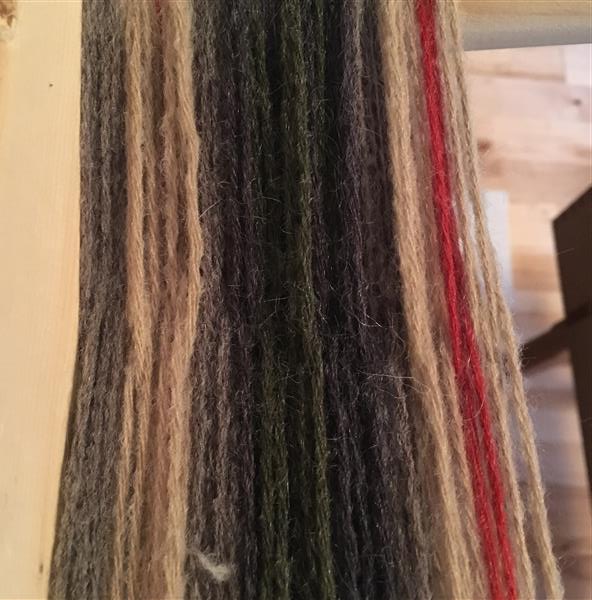
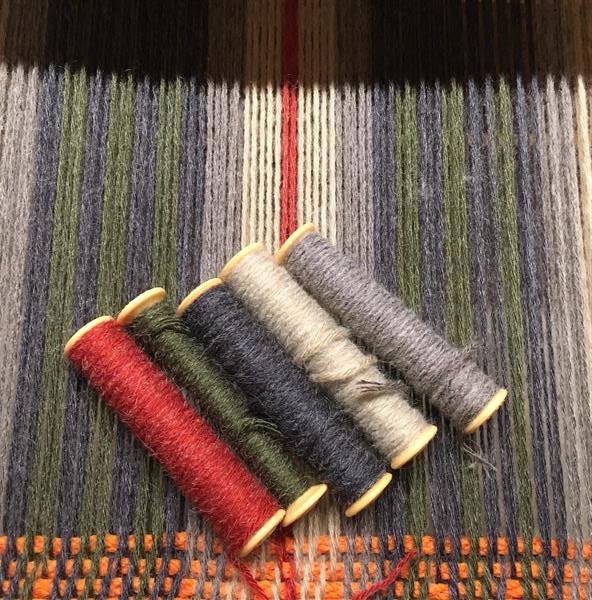
The first step, which I did a few weeks ago, is to plan out the pattern. I knew I wanted to do a plaid, so I looked to a few tartans online for inspiration and came up with something I liked, based on the colours and quantities that I had available. I picked up this yarn in the “closet” (sale room) at a local knitting shop. Even at a discount, this wool/acrylic/mohair blend wasn’t exactly cheap. I’m hoping to sell 3 of these scarves to the highest bidder (except maybe one for Mom’ll go at cost) to recoup the costs of materials.
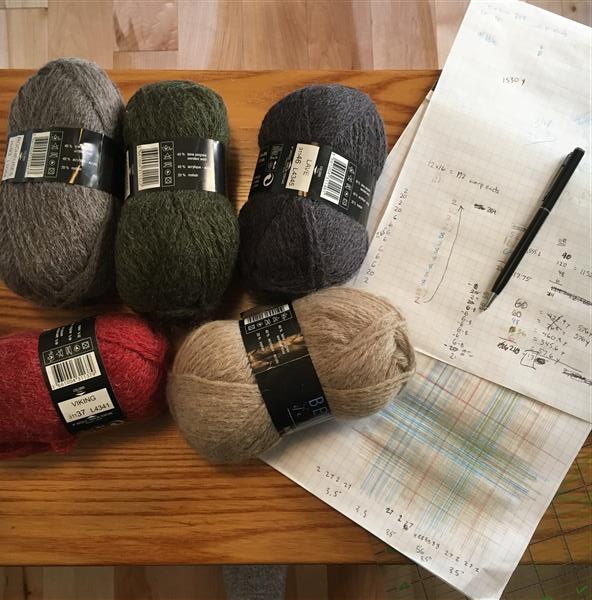
I double checked my warp math with an online warp calculator, after getting sidetracked by star trek references in my Google search results. To make 4 60″ scarves with 6″ of fringe on each end, and accounting for some loom waste, I needed each warp end to be 9.6 yards long, and based on the pattern I came up with, I needed 210 warp ends. In developing the pattern, I needed to keep the approximate quantities of each colour relatively even, to make the best use of my yarn… especially given that the yarn that I bought for this project is discontinued!
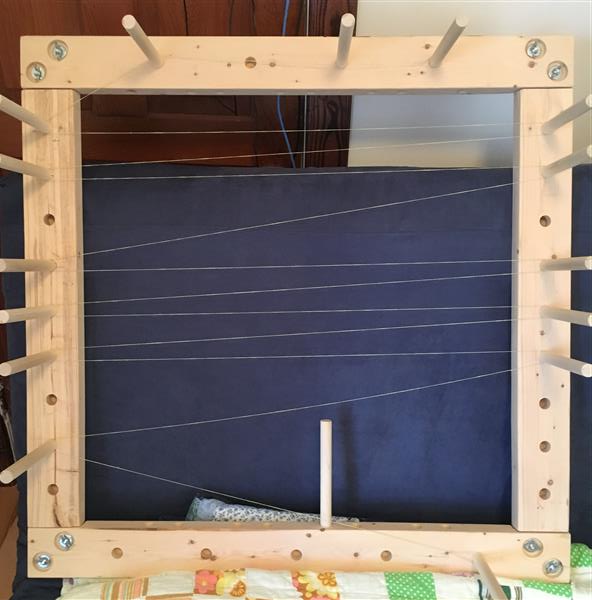
To make the warp, you start by measuring out a guide thread the length needed. Then place/adjust the pegs on the warping board so that you can wrap the yarn around the pegs back and forth until it takes up the total length your warp needs to be. I think this is the longest warp I’ve made yet.
Then follow the guide thread around the pegs, counting out the number you need for each colour as you go. At the top of the warping board, you may notice that the threads cross around the pegs. This is, oddly enough, known as “the cross”. By alternating up and down around the top pegs, you can keep the threads in order where they cross each other.
This keeps the pattern in the right order, and prevents disastrous tangling, later on.
The other thing you need to keep track of, as you make the warp, is the number of warp ends in each inch (or half inch). This helps you get the threads spaced properly on the loom as you wind it on, before threading.
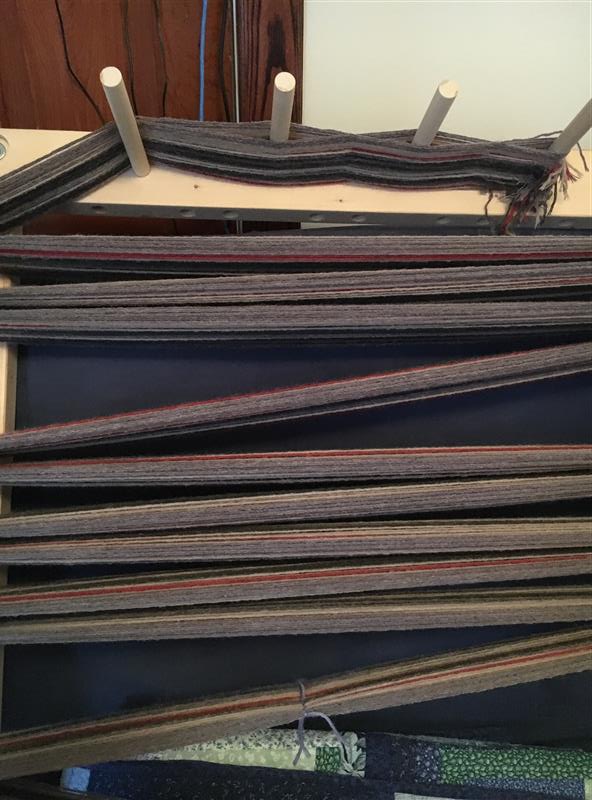
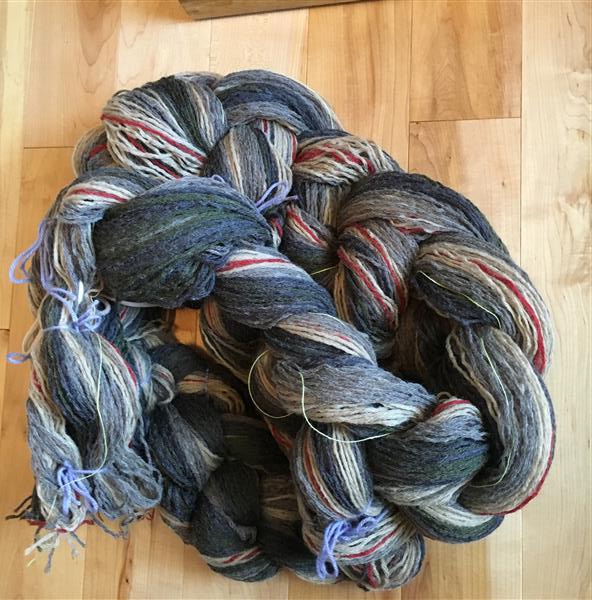
Once you’ve wound all 210 threads, tie it up to keep it organized.
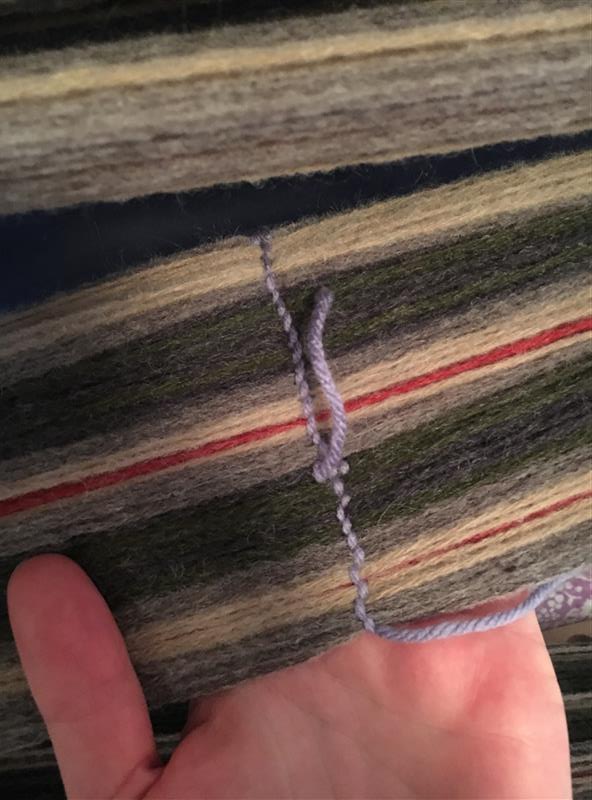
Then make sure that you’ve secured the cross so that the threads stay in that order when you pull it off. tie around each of the 4 sides of the cross, then once around the middle for good measure.
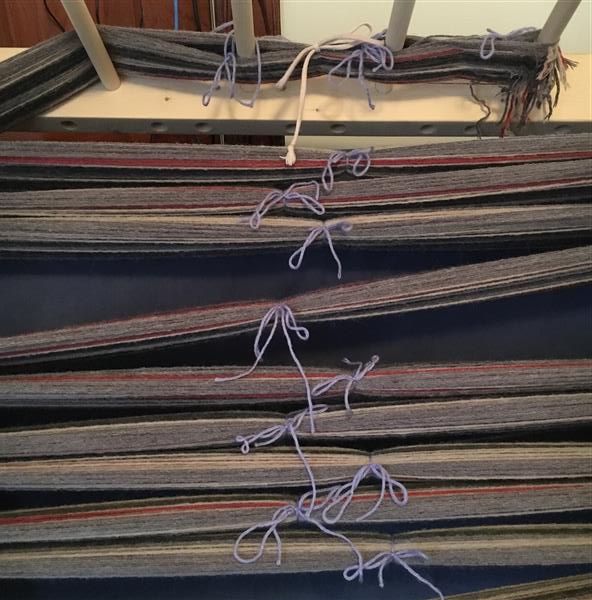
Grab the warp from the loop around the peg at the bottom, and start chaining it up on itself like a crochet chain, only with your hand as the crochet hook. Hard to describe, but once you get it, you’ve got it.
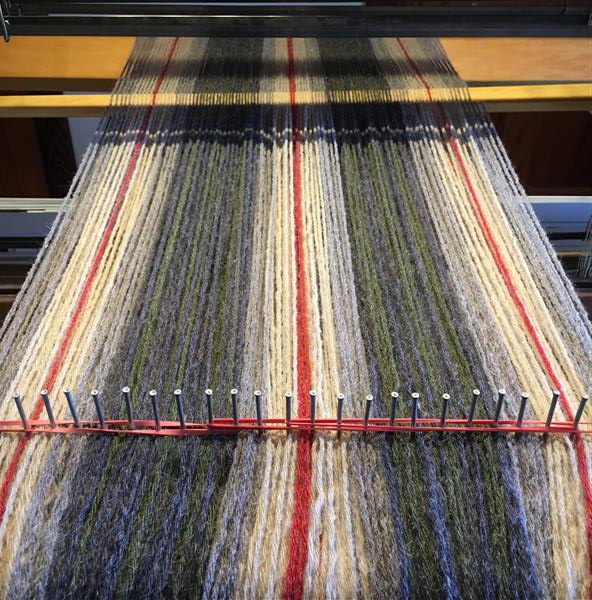
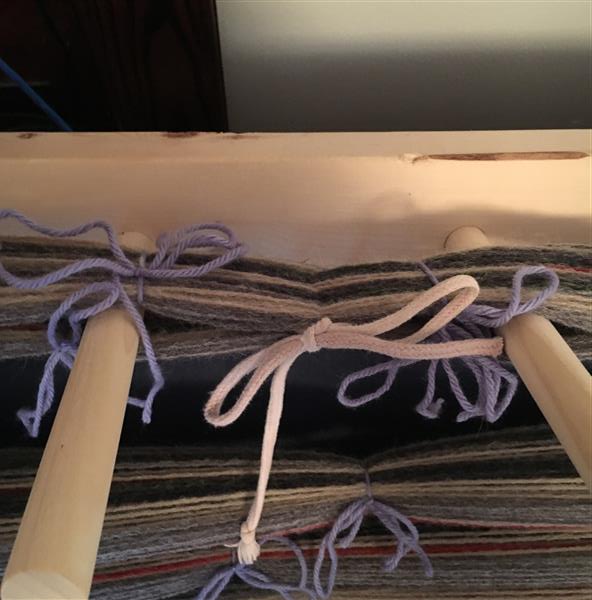
Here’s where the counting threads come in – every 8 threads goes into the 1/2″ space between the nails on the raddle. This spaces the warp evenly in the loom. The rubber bands are there to hold it down as it’s wound onto the back beam. You can see my lease sticks, through the cross, keeping things tidy in the background.
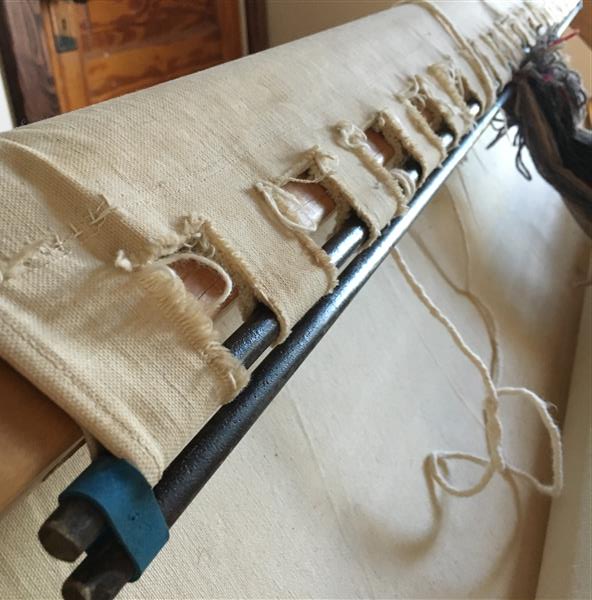
While spacing the warp out on the loom, I use lobster claw rubber bands to keep the 2 metal bars in the back apron together. My Mom taught me this trick. It’s handy to hold things in place while you’re spacing the warp out, so that you can then lash the two bars together through the evenly-spaced warp, without having to have 3 sets of hands to hold things.
I’m doing this project up in a twill weave, so threading was pretty straight forward – 1234, 1234, 1234.. That means one thread through a heddle on the front shaft, one through a heddle on the second shaft, then the third, then the fourth. Start over at 1, for the next 4 threads.. and repeat for all 210 threads.
Then each thread goes through the beater bar. In this project, I’m doing 16 ends per inch, but I’ve only got a #8 reed – so that means that I need to put 2 threads through each slot in the reed, which made threading the reed go pretty quickly. I use an old butter knife (another inheritance from Mom) to thread my reed.
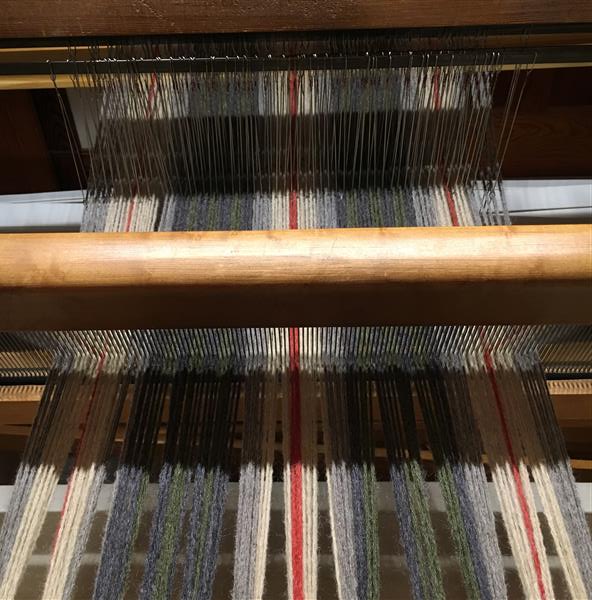
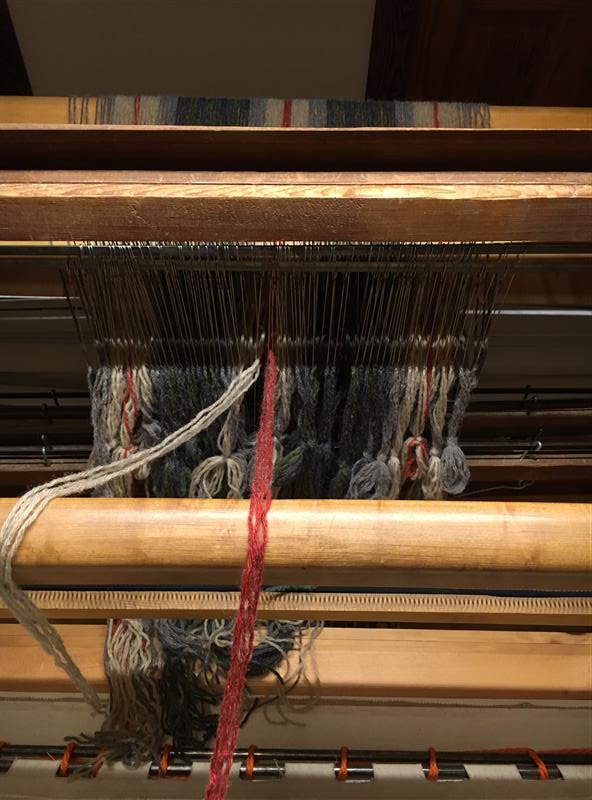
Once the reed is threaded, it’s time to tie the warp to the front bar, and gradually tie and untie back and forth across the warp, until you even out the tension in all 210 threads.
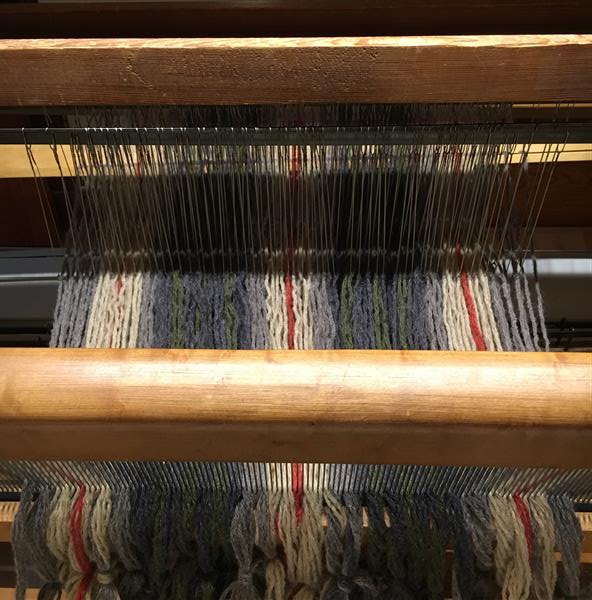
As you see in the previous picture, tying the warp to the front bar leaves some gaps between the groups of threads. Weaving a few passes with a thick cord helps even these spaces out. In the picture above, I’m ready to actually start weaving for real.
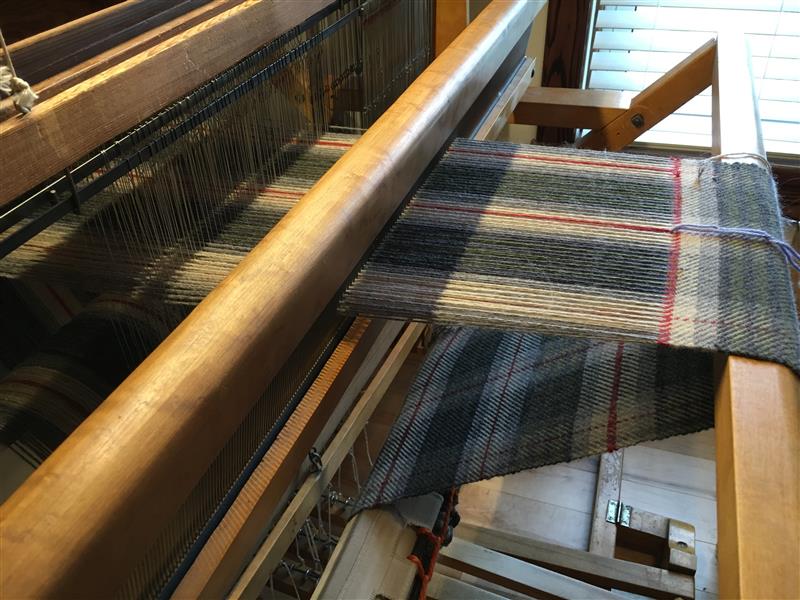
Between an hour or so yesterday, and a few hours this afternoon, I managed to get about 42″ woven. That leaves me with a couple more hours of weaving to finish the first of the four scarves planned for this warp. If I can dedicate a few evenings and weekends to weaving over the next few weeks, I may actually be able to have these scarves ready in time for Christmas!

Wow – interesting process Kristina – and beautiful result! 🙂
LikeLike