My Perfect Chocolate Chip Cookie

I promised last week that I’d post about my “perfect” chocolate chip cookie. I’ve tweaked it a bit since the last time I made it, and I suspect it may continue to get adjusted as life goes on, but I’m pretty happy with the basic recipe, so here it is.

"Recipe"
“Recipe”

What, that’s not helpful? 😦 You want more details? So demanding! *sigh*

Continue reading “My Perfect Chocolate Chip Cookie”

Advertisement

Slow Cooker Cheesecake

As someone who always bakes cheesecake in a water bath, I feel like this is something that should have occurred to me a long time ago. Why not make cheesecake in the slow cooker? It’s the perfect environment for a baked custard, providing long, slow, and moist heat. I’ve mentioned before that I have a group of co-workers that eat a “pot luck” lunch together every Thursday, and I often provide dessert. We do slow cookers in the winter, and BBQ in the summer. When I saw this month’s Canadian Living Magazine, I knew that I had some new things to try on (one of) my favourite groups of test subjects.  I don’t see the recipe on the Canadian Living website yet, but I changed it substantially anyway, so I’m going to share what I did, here.

Jar o' cheesecake
Jar o’ cheesecake

Continue reading “Slow Cooker Cheesecake”

Stone Ground Whole Wheat Cookies

My husband gave me one of the most frivolous but wonderful things for my birthday this year. It was back in June, but I have gotten somewhat out of the habit of blogging, so I didn’t think to post about it when I first received it. Recently, Joe Pastry started a series of posts on flour, discussing extraction rates, grades, and protein contents, and it got me thinking that I really should start experimenting more with my new toy. What is it?
Continue reading “Stone Ground Whole Wheat Cookies”

Kristina’s Peanut Butter Tart

I recently won a baking contest at work with this recipe. I had so many requests for the recipe that I figured instead of emailing it to individuals, I should post it here. I’m not going to go into in depth detail on how to put this together, here, because, really, you should pick up several of Rose Levy Beranbaum’s cookbooks if you want to produce the kinds of baked goods that I do. All of her cookbooks are fantastic, and I promise, they just keep getting better. The components of this particular recipe come from “The Pie and Pastry Bible” and “Rose’s Heavenly Cakes”. I’m actually really glad I did a little searching before typing up the recipe. I hate sharing someone’s intellectual property without asking, and I’m also lazy, so typing up the recipe wasn’t something I was excited about. 🙂

First, here’s the recipe for the crust.
I modified the crust by increasing the flour to 100g – up from 71g as specified in the Pie and Pastry Bible. I found this made it a lot easier to work with (roll out between sheets of plastic wrap). I also used a new technique from Rose’s next cookbook (which I’ve had the privilege of “beta baking” several recipes) to get the crust into the fluted tart pan. You’ll have to wait until summer of 2015 to get that little tidbit, though! In the meantime, using a piece of plastic wrap to pat it into the pan might just be easiest.

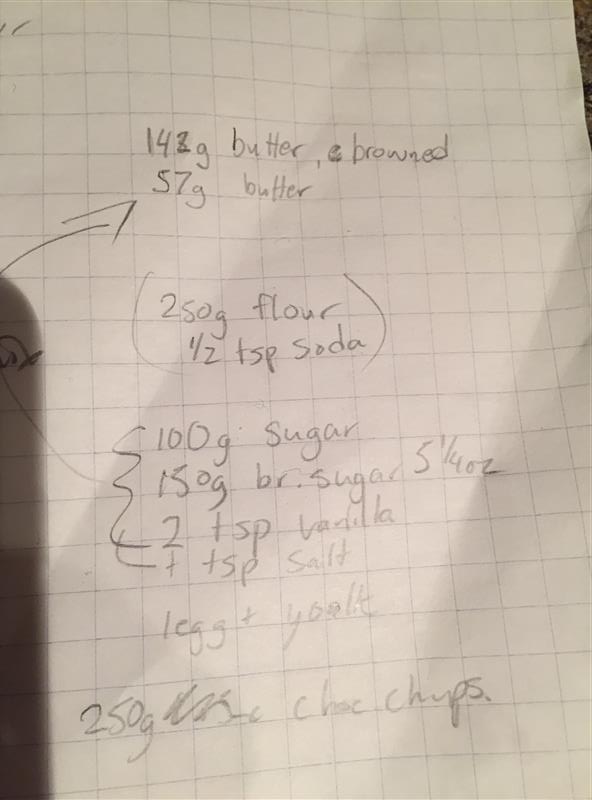
For weighers like me, here are the quantities of ingredients I used for the crust:
100 g flour
1/2 tsp baking soda
pinch or two of salt
54 g brown sugar
25 g white sugar
57 g unsalted butter
133 g peanut butter
25 g egg
1/4 tsp vanilla

Here’s the recipe for the filling (see “for the peanut butter mousse”). I also modified the filling slightly, by increasing the peanut butter to 151g and reducing the whipping cream to 125g. I found that these modifications made the filling a bit denser, which I found gave it more peanut flavour. Yes, I weigh everything when I bake, and I apologize, but I have no idea what those measurements are in volume. Weighing is so much easier, quicker, and more accurate. I can just dump things into the bowl until I have the right amount, without digging through drawers for spoons, cups, etc.

Here are the weights I used for the filling:
113g cream cheese
151g peanut butter
50g sugar
1 tsp vanilla
125g heavy cream, softly whipped

For the topping, I used Rose’s Chocolate Lacquer glaze, which is featured prominently on the cover of Rose’s Heavenly Cakes. Seriously, go look at the book on Amazon (If I did it right, link goes through Rose’s referral site). It’s gorgeous. I’d used this glaze previously, when I did the bake through of RHC. See my Chocolate Apricot Roll post for some process pictures. I didn’t use the milk chocolate ganache from the original Peanut Butter Tart recipe linked above, because in taste testing, Jay and I decided on three things:

  1. When cold, the ganache is too solid. It smooshes the filling when you try to use a fork to get a bite of the tart.
  2. When at room temperature (so the ganache is softer), the tart just doesn’t taste as good.
  3. Even the milk chocolate ganache overpowered the peanut butter flavour too much.

So, I did a second “trial” run of the tart, and split it in half. On half, I used peanut butter whipped ganache from Rose’s Heavenly Cakes (from the recipe for “Chocolate Génoise with Peanut Butter Whipped Ganache” – recipe, by the way, includes a black raspberry syrup for the cake – an inspired flavour combination!). My thought was that the peanut butter would keep it from overpowering the chocolate, and the “whipped” aspect might make it a better texture match for the filling. On the other half, I used the chocolate lacquer glaze. You can see Rose covering a cake with the lacquer glaze in a youtube video. We decided you couldn’t really taste the chocolate in the peanut butter whipped ganache, but that the lacquer glaze was the perfect texture.

I won’t be sharing Rose’s recipe for the lacquer glaze here. I emailed her and asked for permission to post it, but as I suspected based on not finding an authorized looking copy online anywhere, she’d really rather I direct you to Rose’s Heavenly Cakes (amazon link above) for the recipe. I’ve seen a couple of unauthorized copies of the recipe for the chocolate lacquer glaze floating around the Internet, so you might find it or something similar with a search. It’s one of her truly unique creations, and as I said, it’s featured on the cover of the book.

I’ve seen a similar but not identical recipe referred to as “mirror glaze”. I also noticed that at least one version of the recipe doesn’t include an all-important word for getting proper results when baking with cocoa. ALKALIZED. It makes a huge difference. If a recipe calls for alkalized (aka dutch processed) cocoa powder, that’s what you need. If it calls for unalkalized, you need that. There’s a difference in acidity levels, and different acidities cause different reactions with other ingredients in a recipe. In case you think dutch processed cocoa is some sort of exotic ingredient, you can find it at Bulk Barn. Joe Pastry actually put up a post on “dutched” cocoa recently, which you should check out if you’re interested in the differences.

Rhubarb Platz

I made this recipe this past weekend, with the first rhubarb out of our garden. Dad’s Aunt Florence heard about it on Facebook, and wanted to know what it was, so here’s the recipe! Kudos to Dad’s Aunt Betty from the other half of his family for the recipe. I guess this recipe goes hand in hand with the other Deutsch tradition this week (the whoopie pies), since this is a Mennonite dish.

Pastry
Mix in food processor (can be done by hand, if you roll that way):
3 cups flour
3 tsp baking powder
1 cup lard (or shortening)
1 tsp salt

Add all at once: 2 eggs + enough milk to make 3/4 cup liquid.

Pulse a few times until dough comes together, forming ball by hand if necessary.

Assembly
Roll 1/2 of the dough into 11×15″ pan. I’m lazy, so I just press it into the pan. Sprinkle with 1 tbsp minute tapioca.

Combine 1 cup sugar with 2 tbsp tapioca, and sprinkle over base. Spread 4-5 cups finely chopped rhubarb over sugar. Sprinkle with 1 cup sugar and 1 tbsp tapioca. Cover with remaining pastry. Again, I’m lazy, so I don’t roll it, I break it up into little bits with my fingers and spread it more or less evenly over the top.

Topping (this is the best part)
Combine:
1/2 cup margarine (unsalted butter won’t hurt here)
3/4 cup sugar
2 cups sliced almonds
1 pkg Dr Oetker’s vanilla sugar (using a whole package even if you’re halving the recipe won’t hurt here, either)

Cook gently 2 minutes or use microwave (basically to melt the butter and get it all nice and mixed). Spread over platz.
Bake at 400 degrees Fahrenheit for 20 minutes, then 300 for another 30-40.

Excuse me while I go dig a piece out of the fridge and warm it up a touch.

Two Fat Cats Whoopie Pies

My Dad is an engineering professor at the University of New Brunswick. His office used to be in the Gillan wing of Head Hall, which was less than a block away from the Goody Shop bakery. The Goody Shop has been there as long as I can remember (at least since I was 5 or so), and during the time that I was living in Fredericton, it was still owned and operated by the same ancient man who baked all of the treats himself. I suspect that is no longer the case, but I prefer to think of the shop as I remember it. Regardless, the point is that I was introduced to Whoopie Pies when Dad first brought them home as a treat once upon a time when I was a very little girl. Right up through undergrad, my friends and I would occasionally pop down to the Goody Shop between classes for a treat. Some people went for those hot dogs that sit on the heating roller racks (the turnover was so high at this shop that those weren’t nearly as scary as they seem at gas stations and 7-11), but I was always there for the whoopie pies. Like so many things, this recipe isn’t quite the same as those childhood memories, but it’ll do in a pinch. 😉

Continue reading “Two Fat Cats Whoopie Pies”

Meringue Mushrooms

I had a question about the meringue mushrooms I did for my version of the holiday “pine cone” cake that wasn’t a pine cone. They’re really really easy. The recipe can be scaled up if you want more mushrooms.

1 egg white
1/8 tsp cream of tartar
1/4 cup sugar
1 tbsp dutch processed cocoa (optional)

Beat the egg white until frothy, then add the cream of tartar. Beat to medium peaks, then gradually add the sugar, beating to stiff peaks. If desired, add a tablespoon or so of cocoa for colour. Pipe into a variety of round and tall shapes on parchment paper. You’re piping the stems and tops of the mushrooms separately. A variety of heights of stems works well (between 1/4 and 1 inch tall, or so). Bake in a 200 degree Fahrenheit oven, for 1 hr. Turn the oven off and leave door closed for 1 more hour. You’re trying to dry them out more than you are cooking them. Store in an airtight container once cool & crispy.

Close to when ready to serve, take a paring knife and hollow out a small crevice in the middle of the bottom of the caps. This crevice should be about the width of your stems. Pipe a bit of ganache (for me, this was easy, I had some leftover from the biscuit roulade) into the crevice, and stick the stems into it. Don’t do this too far in advance, or your meringues will absorb the moisture from the ganache and start to get soggy. Dust the tops with some cocoa and/or icing sugar for ‘dirt’ & ‘snow’.