A few commenters expressed interest in my flour mill, on my panettone post, so I decided to write up my process for making my regular (every other) weekend rye sourdough. I get my whole rye berries and wheat berries from Oak Manor Farms. They claim to be “Canada’s original organic flour mill.” All I know is that I can get 10kg of hard wheat berries there, for a little over $20. It may not be as cheap as flour, but it’s fresh and local (which are both far more important to me than organic, personally). It also makes beautiful bread.

First, I babied a starter into existence a year or two ago. I can’t remember for sure which starter method I used. It might have been one from Joe Pastry, or it might have been the one in The Bread Bible, or it might have come from one of the two professional baking text books I picked up years ago from the bargain shelves at Chapters. I think I did start it with freshly ground local rye, and if I recall correctly, we had a batch of wine fermenting at the same time, which may have helped seed it with some airborne yeast. Either way, to maintain it, I basically take 50g of starter, 50g of flour, and 25g of water (I think? I should have this memorized by now…), and mix that together every week, discarding the extra starter.
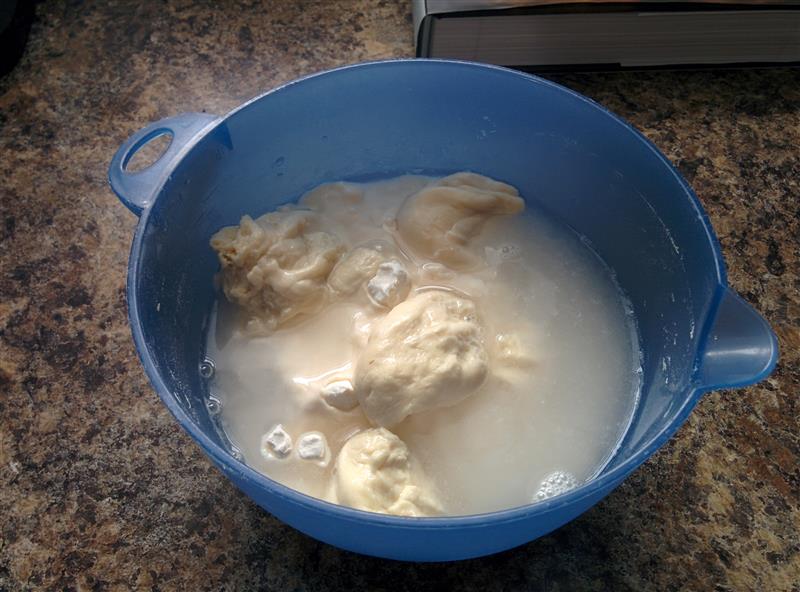
If that looks like a lot more than 125g of stuff, it might be – generally, when I make bread, I feed both the storage starter and the amount that I’m going to use for bread at the same time, and put half-ish of it in the fridge, and half on the counter to get nice and active. I use my danish dough whisk to mix that somewhat into a really rough dough, then dump it on the counter.
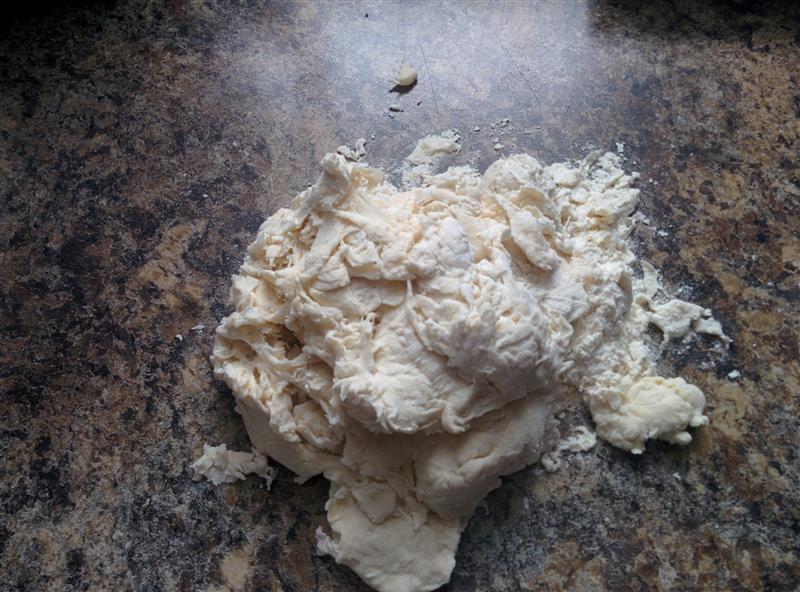
A couple of minutes of hand kneading later, and you have a lovely little ball of stiff dough.

As I mentioned, I then leave the amount needed for the bread on the counter.. 24 hours is best, but sometimes I rush things and do it the night before I plan to use it. *shrug* What can I say? I’m pretty lackadaisical about baking, when it comes to bread.
The next day, I disassembled my flour mill a little bit and took a few pictures. You can peek inside by unscrewing the wooden bowl on top. The top millstone is then visible:

The top millstone sits on springs, which basically means that if the top bowl is screwed all the way in, the flour is fine, because the millstones are being pressed together. Unscrewing the bowl partway makes a coarser grind. The top millstone is just sitting on top of the bottom one, so you can just pick it up and take it off, at this point, exposing the bottom stone.

You can see the shape of the stone, which directs the flour out the edges as it’s ground. You put your grains in the top:

And the flour comes out a chute on the front:

That’s really all there is to it, aside from all of the motors and gears inside the box. I was initially a bit skeptical, questioned why my husband would even consider spending that kind of money on something like this, and I worried that I would never use it, but even if the only things I use the flour for are bread and cookies, I absolutely love my mill. It’s a beautiful member of my appliance family. I haven’t experimented at all with sifting the flour and trying to use it for cakes and other things calling for white flour, though. Without any real knowledge about the protein content of the wheat (though I can obtain both hard and soft wheat), I have a hard time trying it in something more delicate like a cake. I have used the fresh ground whole wheat in a 1-1 substitution for the Soft White Sandwich loaf from The Bread Bible, with the only other adjustment being the amount of liquid – it turns out a little bit crumb-y, but lovely sandwich bread, otherwise.
Anyway, the rest of my bread baking pictures are pretty boring. There’s a step I missed taking a picture of, where you give the starter its second feeding. I generally do that the morning after the first feeding. Then, that night, I mix up the rye flour, bread flour, starter, water, salt, and a 1/4 tsp yeast (I like insurance), then knead (let the mixer do it) until I have a smooth dough:

Let that rise, then turn it out onto the counter for shaping. I almost forgot to take a picture, because this is something I do so frequently, so I’d already pressed it down a bit in this one, but you can still see some of the air bubbles on the sides.

Shape it into a roll/loaf, then into the pan to proof:

I think boules make for beautiful bread, but I find them so awkward for sandwiches, so I stick to the loaf pan. Not as “artisan,” but way more convenient.
After it’s fully risen, into the oven at 400 for 50 minutes. I told you I was lackadaisical about bread – the recipe says oven goes to 450, throw in some ice for steam, and reduce the heat to 400 and something something 15 minutes and something something 35 more (sorry, Rose!), but I just throw it in at 400 for 50. Seems to work?
Maybe it could be better if I paid a little more attention to detail or better timings and temperatures for flavour development, but… this works for me. 🙂

What an awesome thing to have! Lackadasical or not, your bread looks amazing.
LikeLike
I agree with Pat, your bread looks awesome! Thank you for sharing! I like how you add the extra 1/4 tsp of yeast! I should do that too next time when I make mine. I’m making my own sourdough starter now..and they are now in the fridge resting..I have not used it for baking as yet. Do you bring out your sourdough to room temperature before feeding? And how often do you feed your sourdough in the fridge? On close up, rye berries look like rice! BTW, you leave the sourdough starter on counter and no need to cover up? So good!
LikeLike
Great post and so informative. Loved it!
LikeLike
Faithy, I keep it in a little plastic container (closed) in the fridge between bakings, and feed it once a week, whether I’m baking bread or not. It’s gone as long as two weeks between feedings with no serious ill effects, although it does get a fair bit softer/stickier the longer it goes.
I do try to bring it up to room temperature before feeding, though. When it’s out on the counter, it’s also always in a container covered, whether with a lid or with plastic wrap. Lids can be tricky, because I’ve had them pop open when it gets too active!
LikeLike
Your bread looks delicious! This is truly amazing. Your flour looks better then Bob’s Red mill. Kudos to your husband for buying this. While looking high and low for rye flour, I found this place in SF area http://www.communitygrains.com/products/products-wheat/ You might understand the different protein contents. It sounds so complicated to keep feeding the starter. I would need another step by step chart! Thanks for posting this.
LikeLike
Thank you! I just made my sourdough from fruits starter. It’s alive now for a few days but I have no time to bake anything from it, so it is resting in the fridge now.. Thank you for your advise!
LikeLike
Thanks so much for your post. The mill really is very simple but also beautiful. Your loaf is beautiful too. Only expert bakers have the luxury of ring ‘lacksidaisical’!
LikeLike
Hi Kristina–that is one beautiful flour mill, but it pales in comparison to your beautiful bread! GREAT post! Really enjoyed it.
LikeLike